

Choosing displays for an expo stand
A 3 x 3 expo stand gives you enough room to look organised without overcrowding the aisle. The best results usually come from a tight mix of one backdrop, one or two roll-ups and a flag placed where it can pull eyes from a distance.
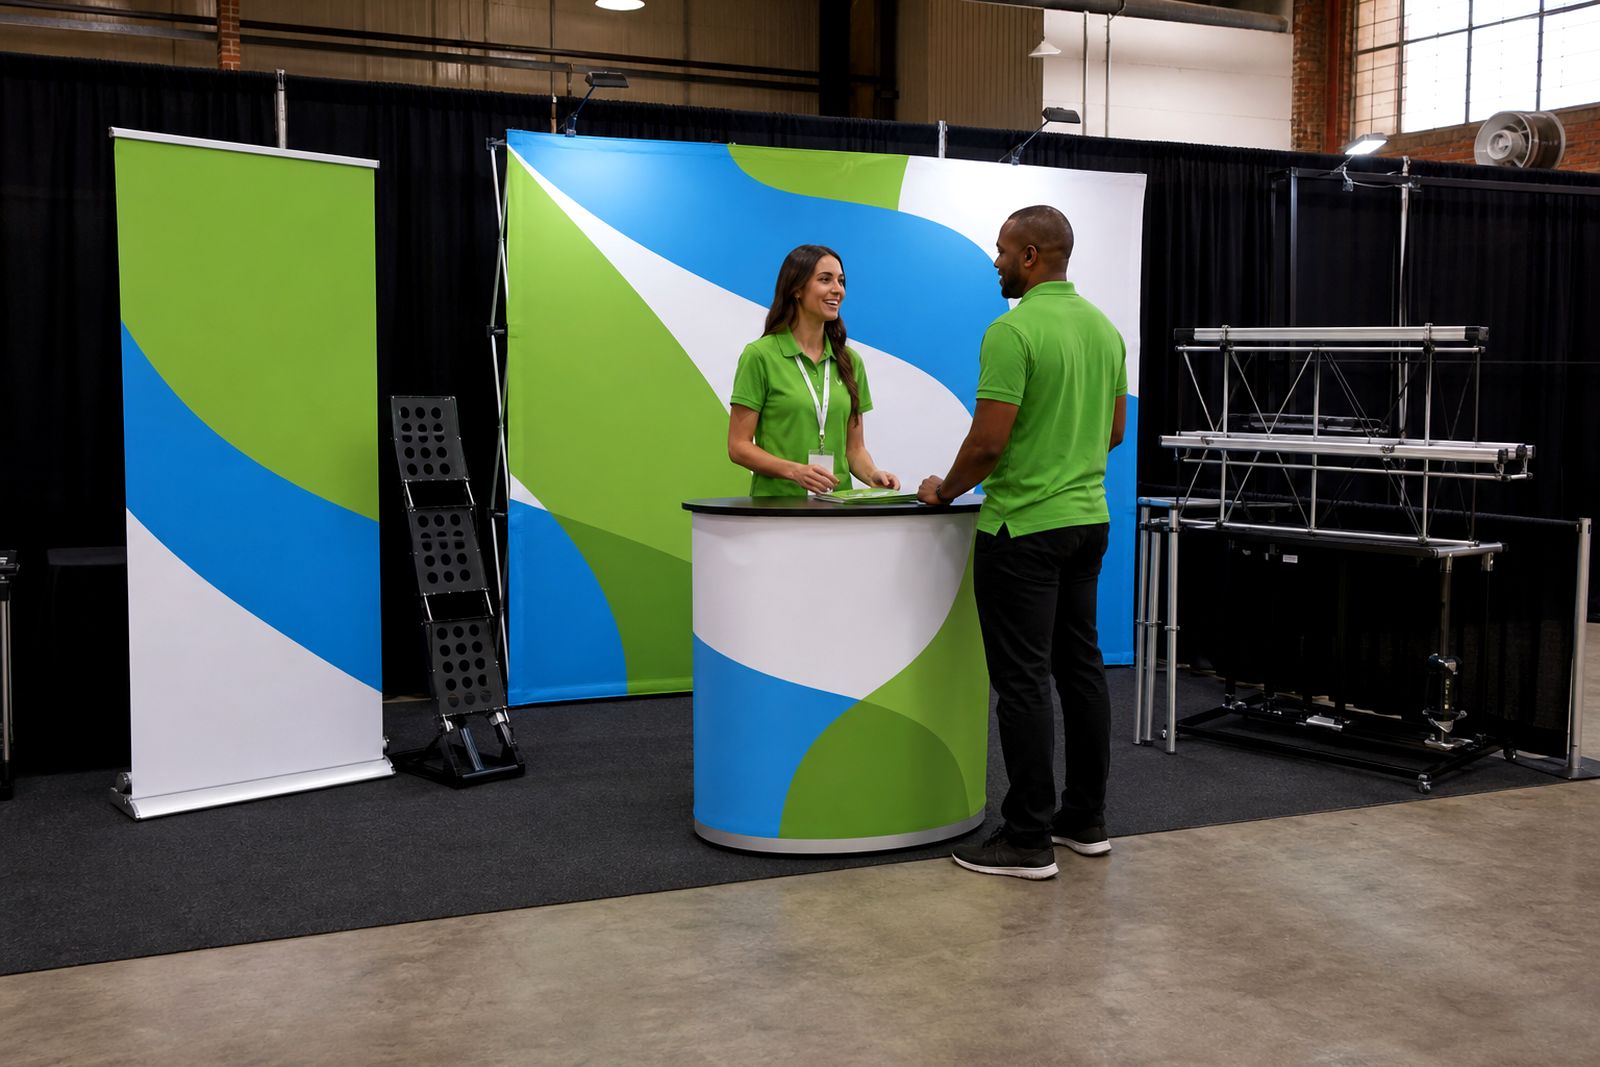
Start with the back wall, not the corners
On a 3 x 3 metre stand, the backdrop should make the first decision for you. It carries the main message, sets the colour block for the space and gives staff a clean background for conversations and photos. If you try to begin with loose items in the corners, the stand often ends up feeling busy before the key message is even visible.
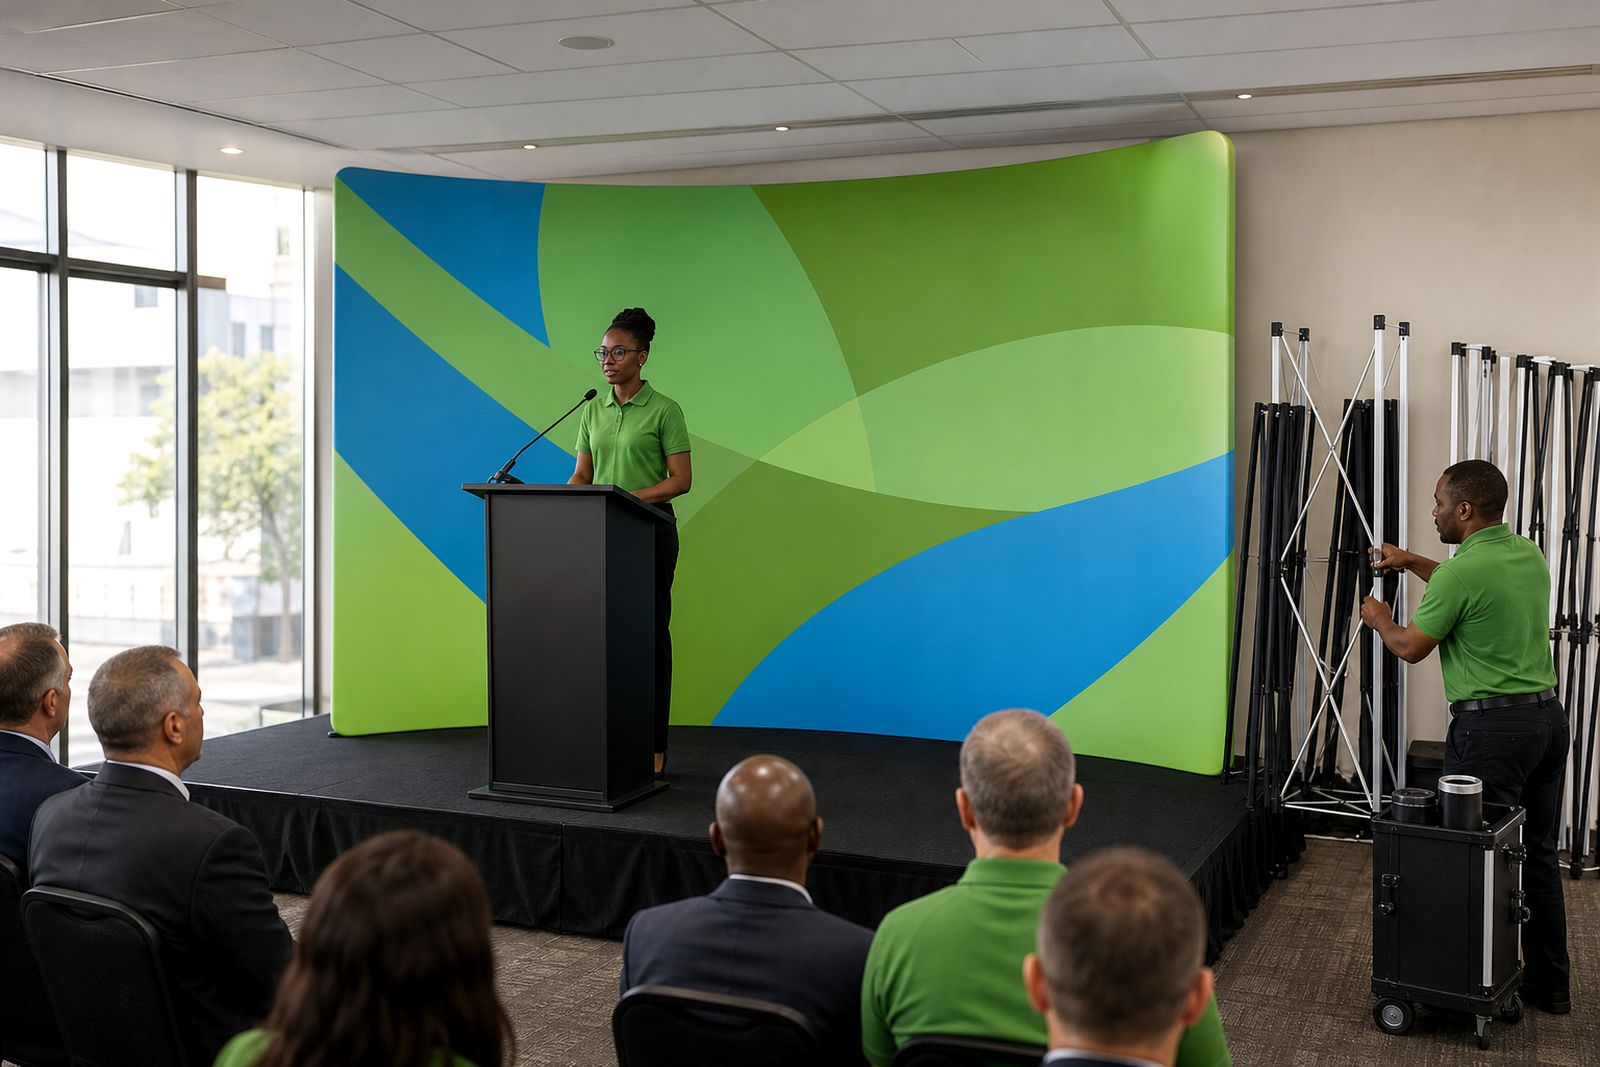
For most indoor expos, a pop-up backdrop across the rear line gives the stand its shape straight away. Keep the artwork readable from a few metres back. One strong headline, a short service line and clear contact details are usually enough. Product lists, tiny icons and long paragraphs tend to get lost under hall lighting, and they make the stand look harder to read than it really is.
Think about where people will stand once the aisle gets full. If your team needs room in front of the wall, leave some breathing space between the backdrop and any table or sample unit. A neat wall at the back does more work than three smaller messages fighting each other across the floor.
Use roll-ups to frame the conversation area
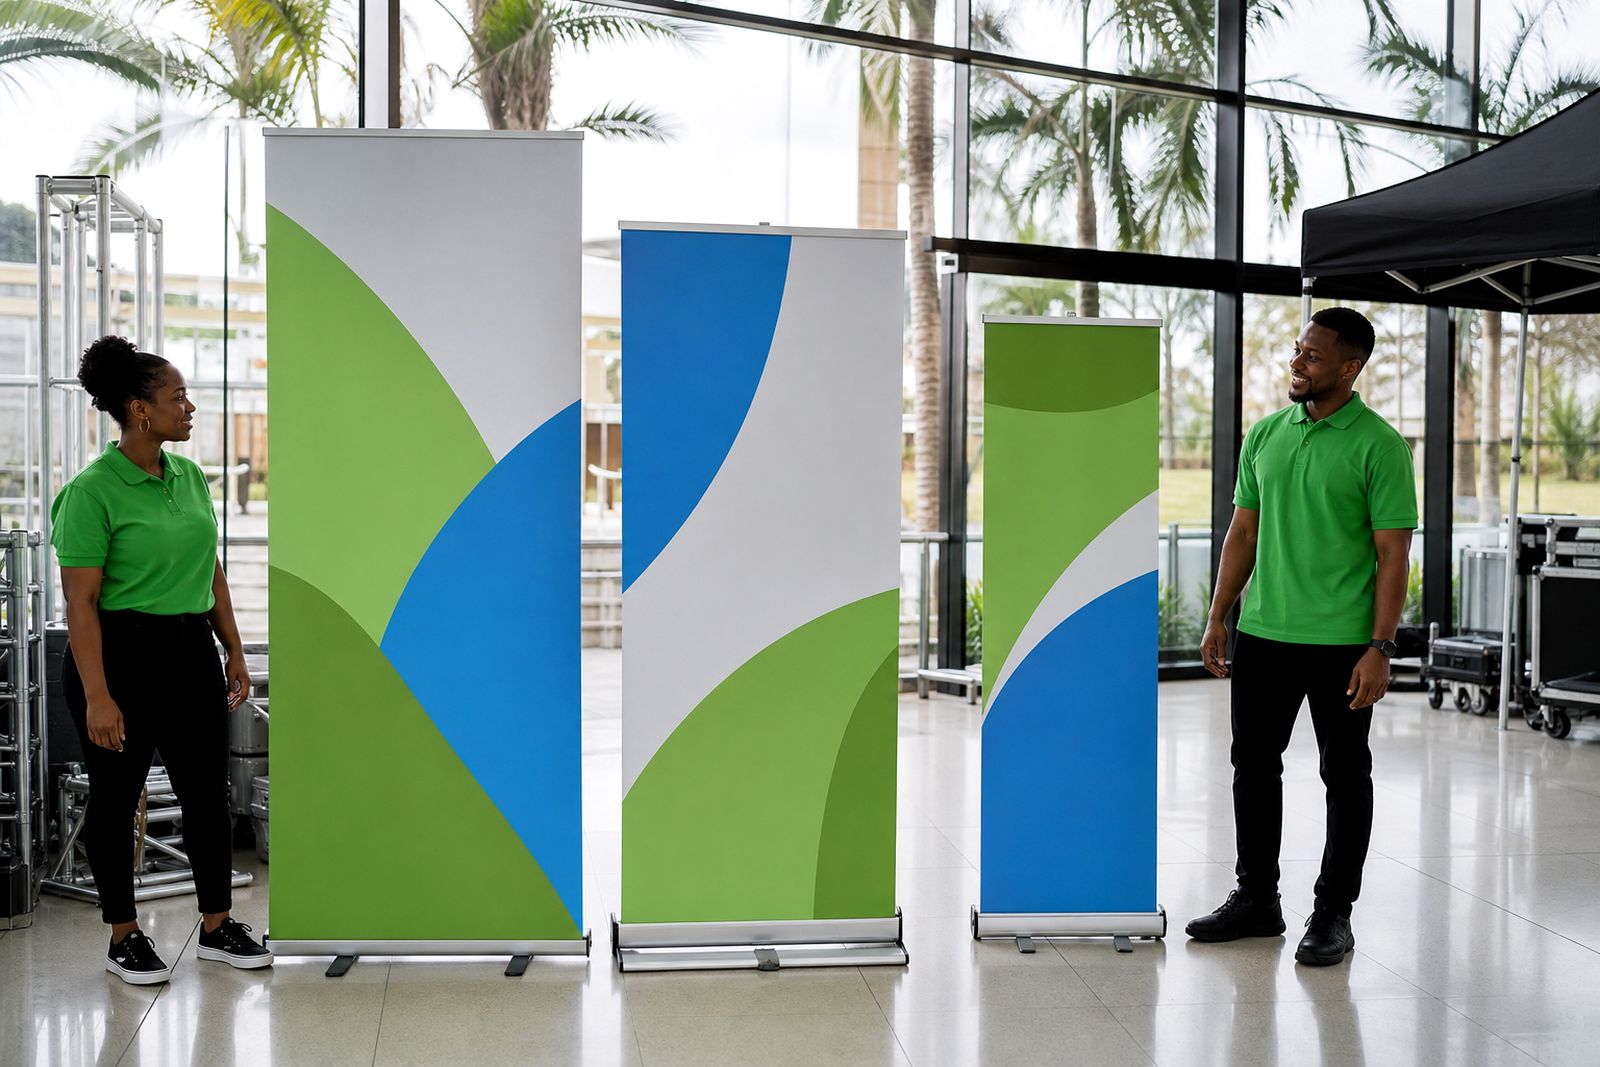
Roll-up banners work best when they support the backdrop instead of repeating it line for line. On a 3 x 3 stand, one banner can sit on each side of the back wall, or a single banner can be used on the open side where people first approach. The job of the roll-up is to catch a second glance and answer the next question.
- A standard 850 mm roll-up suits narrower stands and tighter floorplans.
- A wide 1 500 mm roll-up gives more presence but needs careful spacing so it does not block movement.
- Use one product message per banner, rather than trying to fit the whole business onto each panel.
- Keep important text above waist height, especially where visitors may stand close to the unit.
If you are showing a range, split the content sensibly. One banner can carry the service promise, while the other shows applications, sectors or a simple process. That way the backdrop stays clean and the side pieces do the explaining. It sounds obvious, but many stands print the same heading three times and then wonder why nothing stands out.
Flags belong on the edge of the stand
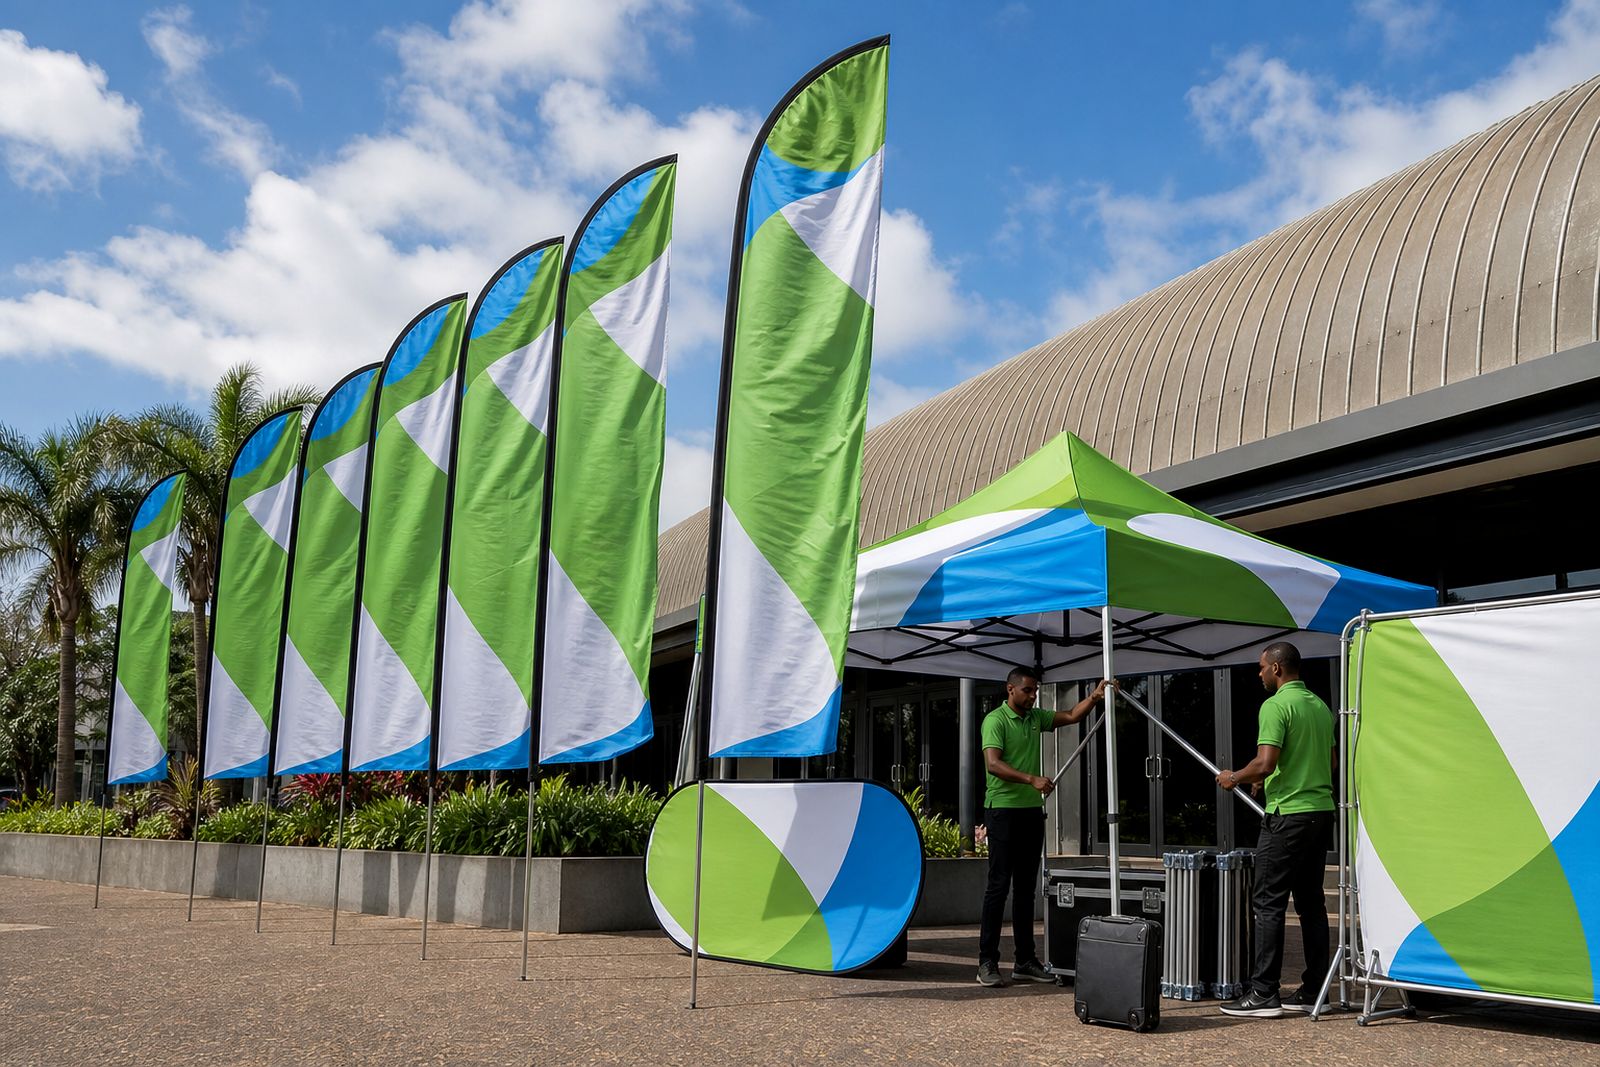
A flag does a different job from a banner or wall. It is there to be seen from down the passage, above shoulder height and over nearby stands. On a crowded expo floor, that extra vertical marker can help visitors relocate your stand after walking past the row once.
For indoor use, place the flag toward the outer front corner if the organiser allows it and if it does not intrude into the aisle. For outdoor activations, a flag can sit beside a gazebo or just off the front leg where it has room to move. The artwork should be simple and high contrast. Flags are not the place for fine text.
- Use a feather flag when you want a taller, narrow shape with a strong vertical read.
- Use a teardrop flag where a more compact outline suits the site or wind conditions.
- Match the base to the venue floor, whether that is paving, grass or a polished hall surface.
- Check sightlines so the flag does not hide your main headline from the aisle.
One flag is often enough for a 3 x 3 space. Two can work outdoors, but indoors they can make a modest stand look crowded quite quickly.
Keep the floor plan open for feet, bags and handshakes
Portable displays are meant to help traffic flow, not choke it. On a 3 x 3 stand, visitors need a clear step-in area where they can stop without bumping a banner base or a flag pole. Staff also need room to turn, reach for brochures and speak to more than one person at a time.
A useful rule is to leave the centre open and keep taller hardware to the perimeter. Backdrop on the rear line, banners just inside the edges, and the flag toward the outer corner. If you add a counter or sample plinth, check that it does not force people to stand in the aisle. Venues can be strict about keeping gangways clear, and for good reason.
It helps to think in terms of three viewing distances. From far away, the flag and top of the backdrop must identify you. From mid-distance, the roll-up should explain the offer. From close range, the stand should feel easy to enter. When those three distances are planned properly the whole setup reads better.
A Durban workshop example that kept the stand tidy
One local exhibitor needed a portable setup for a 3 x 3 event space and wanted something that would courier easily after printing in Durban. The brief was not for a custom stand. The requirement was straightforward: one back wall, enough branding to be found from the aisle and hardware that could be packed, moved and reused next season.
The layout chosen was a fabric pop-up wall at the back, one standard roll-up on the open side and a feather flag near the front corner. The backdrop carried the main message and the strongest colour field. The roll-up covered a narrower service point that did not fit naturally on the wall artwork. The flag used only the business name and a short line, which was enough to mark the stand from a distance.
On setup day the biggest improvement came from what was left out. A second roll-up was considered, but once the floorplan was taped out it was clear that the extra hardware would pinch the standing area. The simpler arrangement looked calmer, packed faster and left the team enough room to speak to visitors without shuffling around poles and bases. That is often the difference between a display that photographs well and one that actually works on the day.
Build the set so reprints and spares stay easy
Expo displays earn their keep over several events, so it makes sense to plan the set as a reusable group rather than a one-off print run. Keep logos in a consistent position, use the same colour values across the wall, banner and flag, and avoid date-specific artwork unless the event requires it. That makes future reprints less painful and lets you refresh one item without remaking everything.
It is also worth checking which parts are likely to need replacement after travel. Banner cartridges, support poles, flag poles, bases and carry bags take knocks in transit. A tidy file set and a clear hardware record make spares much easier to sort out later.
- Save print-ready artwork at the correct size for each item.
- Keep one version per product rather than stretching the same layout onto every shape.
- Label hardware bags after each event so parts do not get mixed up in storage.
- When the message changes, reprint only the panel that needs updating.
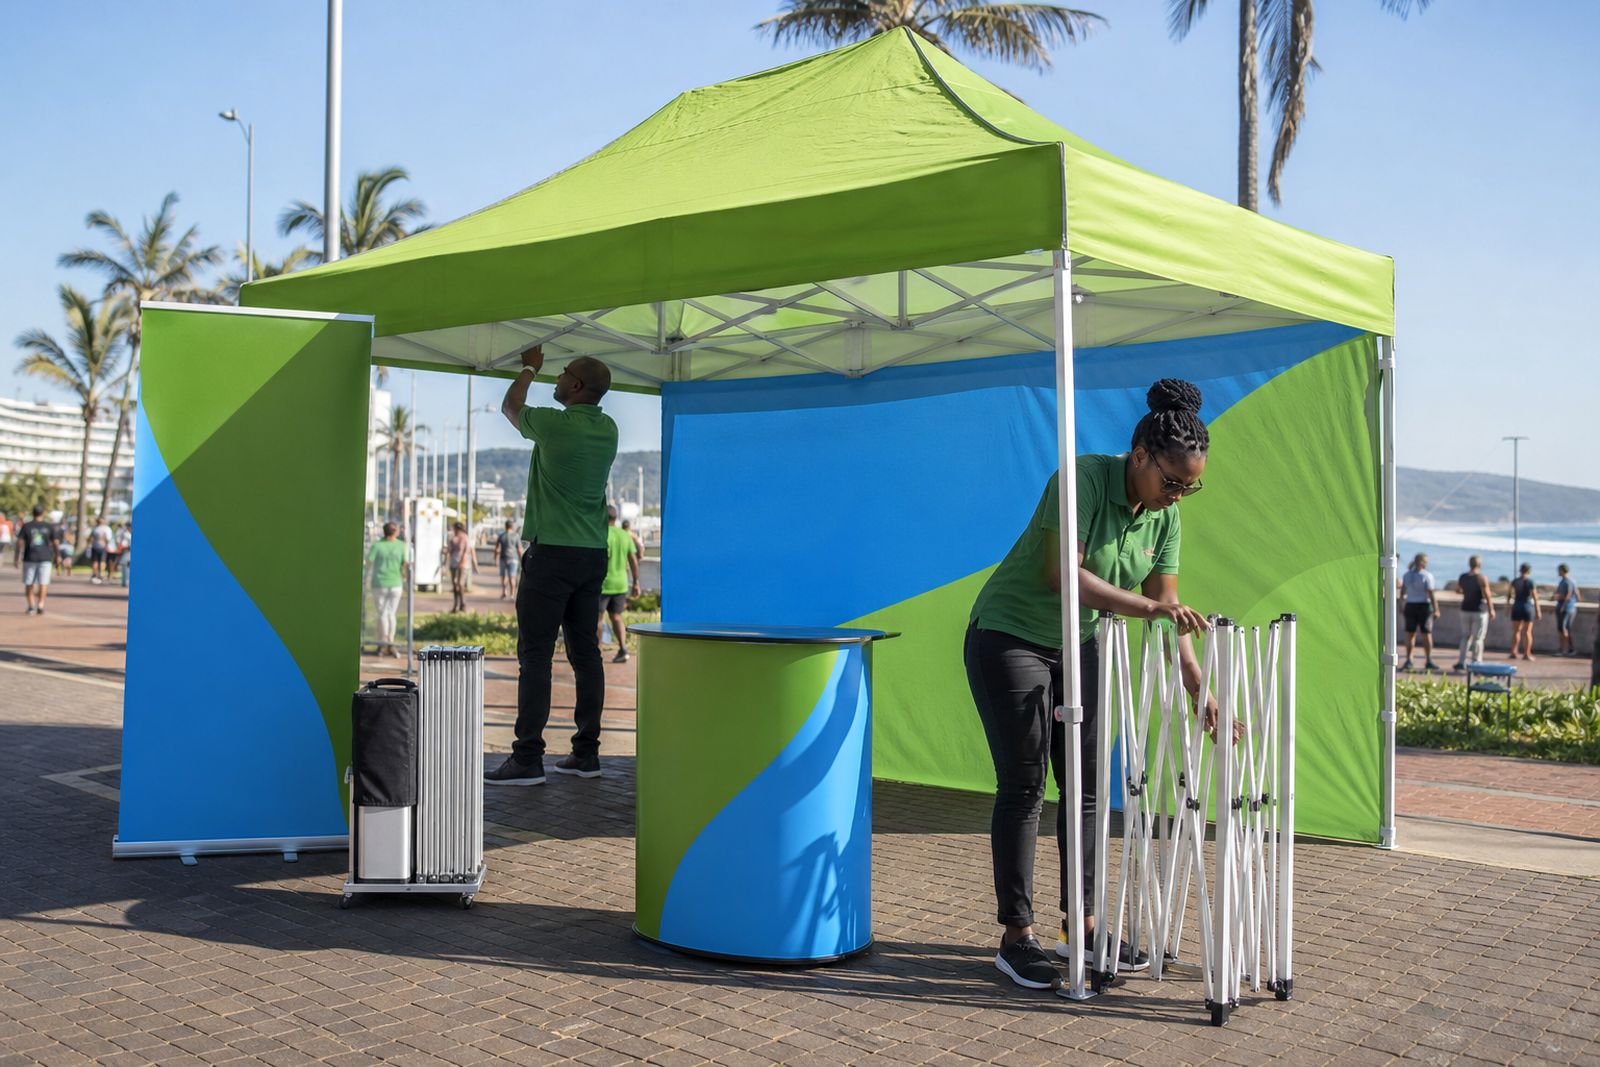
If you are comparing options for your stand, it helps to look at the roll-up banners, feather flags, printed gazebos and pop-up backdrops as one family of display pieces rather than isolated products. For project-specific advice, use our contact form.
What our Event Display customers say
Verified Google reviews
Questions we get asked
How many displays fit comfortably in a 3 x 3 expo stand?
In most cases, one backdrop, one or two roll-up banners and one flag is enough. Beyond that, the stand can start to feel cramped, especially once staff and visitors are inside the space.
Should I use a wide roll-up or a standard roll-up?
A standard 850 mm unit is easier to place on tighter stands and leaves more walking room. A wide 1 500 mm unit gives stronger visual weight, but it needs a layout that can spare the floor space.
Do I need a custom stand for a small expo space?
Not always. A well-planned portable set with a backdrop, banner and flag can present clearly on a 3 x 3 stand and is often easier to transport, store and update.
Also worth a look
Tell us about the job
Send sizes, materials and where you are through our contact form, and we will come back with the practical options.
Open the contact form