Artwork guide
This guide sets out the artwork sizes, bleed, safe zones and file formats we need for printed event displays. It covers roll-up banners, flags, gazebos and pop-up backdrops, so your file reaches print without avoidable hold-ups.
Start with the finished size, then build the bleed
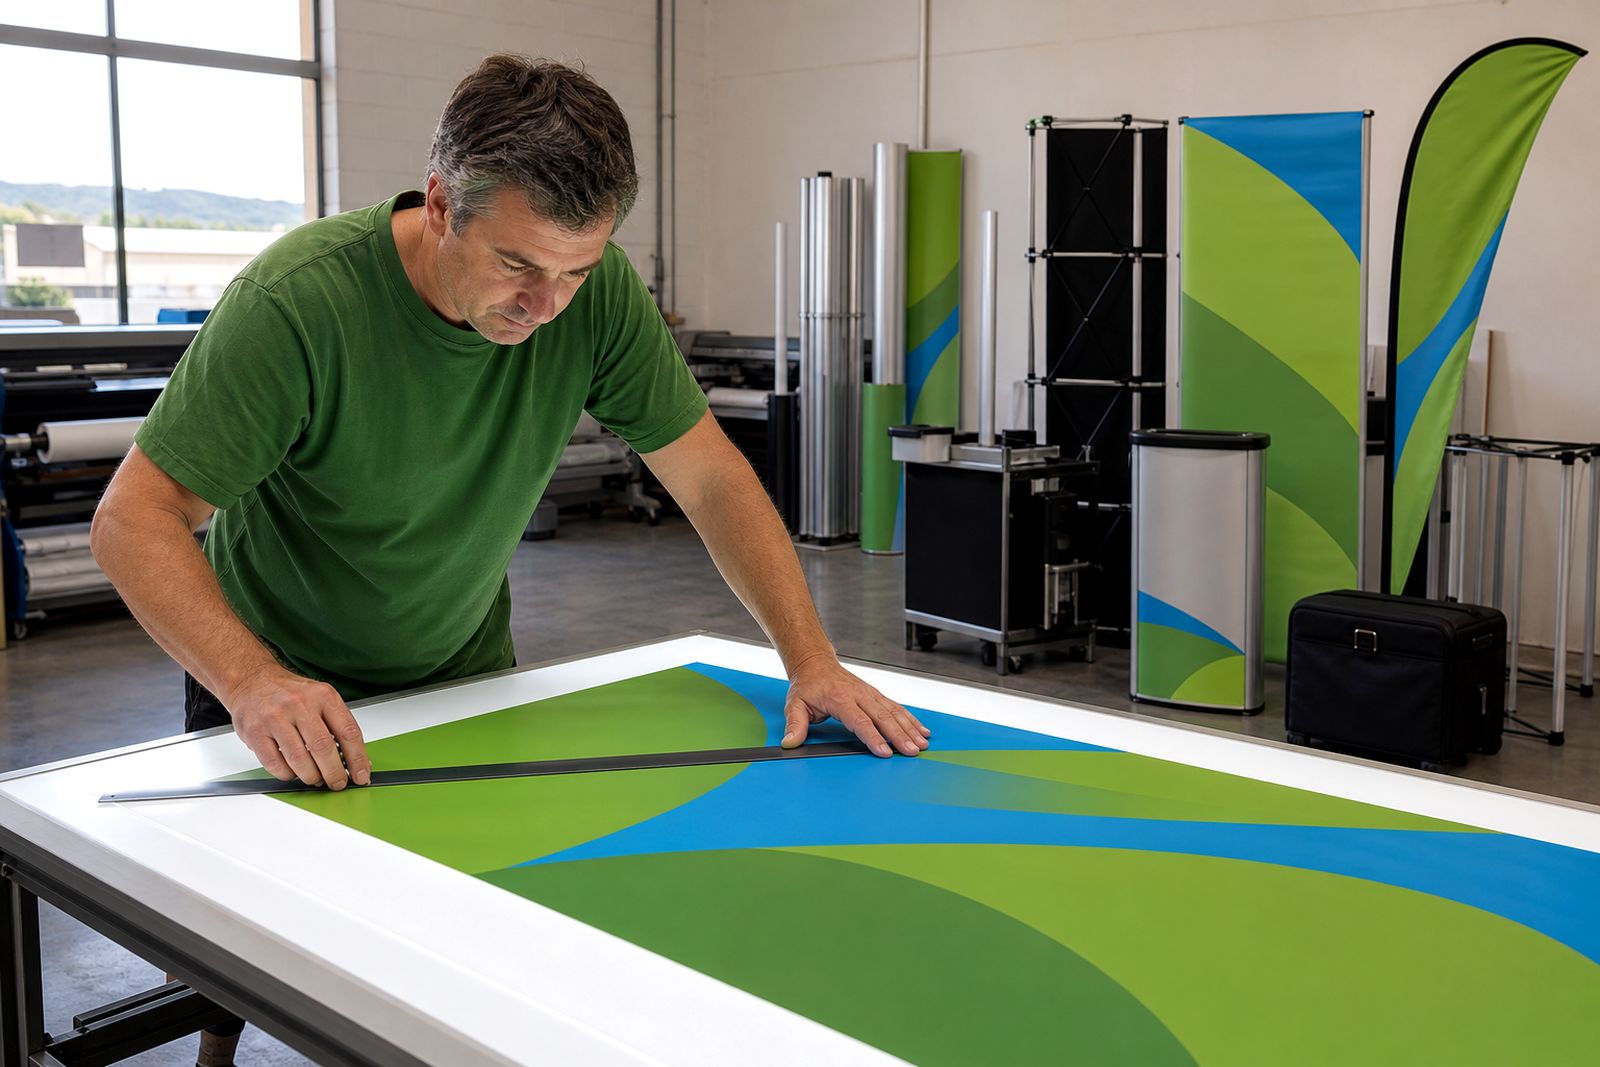
Every display has a visible finished area and an outer bleed area that prints past the trim or stitch line. Build your artwork to the full file size, not only the visible panel, otherwise backgrounds can stop short at the edge. Keep logos, prices, QR codes and small text inside the safe zone so they do not drift into hems, pole pockets or trimmed edges.
For most work, use a 3 mm bleed on smaller print items and a larger practical margin on big fabric or display pieces. On event hardware the exact hidden area matters more than a generic bleed setting. A roll-up banner needs room at the bottom for the cassette insert, while a fabric wall needs extra image area where the graphic wraps around the frame a bit.
- Build the file at full size where possible.
- Extend background colour or images fully into the bleed.
- Keep important content at least 20 mm from finished edges unless a product page states a larger safe zone.
- Do not place fine text over folds, hems or stitched joins.
Sizes to use for each display type
The most common roll-up banner on this site is the standard 850 mm unit. Set the artwork to 850 mm wide by 2 150 mm high, with the visible area usually shorter once the bottom section feeds into the base. For the wide 1 500 mm banner, build to 1 500 mm by 2 150 mm unless your quoted item notes a different overall height. Keep the bottom 150 mm free from critical text on both roll-up sizes.
Feather and teardrop flags are cut to shape, so the artwork template matters. Use the correct template for the chosen flag size and include the bleed line shown on that template. Do not stretch a small flag design to a larger flag later, it often softens logos and shifts copy too close to the sleeve.
For a 3 x 3 m printed gazebo, each valance and wall panel is supplied as a separate print area. Roof slopes are not rectangular in use, so branding needs to sit high enough to read once the canopy is tensioned. Pop-up fabric backdrops are supplied to frame size, with extra print area around the outer edge for tension and wrap.
- Standard roll-up: 850 mm x 2 150 mm artwork area.
- Wide roll-up: 1 500 mm x 2 150 mm artwork area.
- Flags: use the product template for the selected shape and size.
- 3 x 3 m gazebo: set up each roof face, valance and wall as separate panels if required.
- Fabric pop-up wall: use the frame template so wrapped edges stay clean.
Safe zones that save logos and text
Safe zones are the quiet margins that protect important content. They matter on every display but they are especially important on moving fabric and items assembled under tension. A logo that looks centred on screen can end up too low once a gazebo valance folds over, or too close to the sleeve edge on a flag where the pole pocket takes space from the printed face.
As a working rule, keep key elements 20 mm inside the finished edge on banners and at least 50 mm clear of stitched or sleeved edges on flags and fabric structures. On roll-up banners, leave more room at the bottom because that section disappears into the cassette. On gazebos, keep text away from seams and corners where the canopy frame pulls the print out of square a little.
If you want a pattern or photo to run full bleed, that is fine. If you want a logo to read cleanly from a distance, give it breathing room. Expo halls can be busy and outdoor events have wind movement, so cramped layouts often read worse than people expect.
File types, colour and image quality
A press-ready PDF is usually the safest file for production. Export with fonts outlined or embedded, images linked correctly and transparency flattened only if your software has known export issues. High quality JPG files can work for simple one-piece artwork, but they are not ideal when text edits may still be needed.
Supply artwork in CMYK colour mode where possible. RGB files can be converted, but certain bright screen colours shift noticeably in print, especially strong greens, deep blues and very vivid oranges. Rich black backgrounds should be built consistently rather than mixing several almost-black values across separate panels. Small black text should stay on a single black channel for clean reading.
- Preferred file: press-ready PDF at full size.
- Accepted for some jobs: AI, EPS or high resolution JPG.
- Raster images should be 120 to 150 dpi at full size for large displays, or higher for close-viewed pieces.
- Convert spot effects carefully if the file contains special colour libraries.
- Outline fonts if you are unsure whether they will travel with the file.
Please avoid screenshots pulled from social media, presentation slides or messaging apps. They often look sharp on a phone but print soft on a full-height banner, and pixelation is very hard to hide once the panel is up under expo lighting.
A quick preflight before you send the job
A two-minute check saves a lot of trouble. Open the final export and zoom in on small text, edge spacing and image quality. Then check the page size itself. Quite a few print delays start with artwork that is beautifully laid out but built to the wrong dimensions, or supplied without the hidden allowance for the base, sleeve or wrap edge.
- Match the file size to the ordered display size.
- Check that backgrounds run into the bleed.
- Keep text and logos inside the safe zone.
- Make sure linked images are high enough resolution.
- Spell check names, dates, stand numbers and web addresses.
- Export one final PDF rather than several working versions.
If your job includes more than one item, label each file clearly. For example, a gazebo order may include roof panels, one back wall and two half walls. Clear naming helps keep each panel on the right print path and reduces mix-ups in finishing, which is where many event jobs can go skew if the files are named loosely.
Sending artwork for reprints and spare graphics
Reprints work best when the replacement file matches the original hardware size exactly. If you are replacing only the graphic on an existing roll-up cassette, flag pole set or pop-up frame, tell us which product it fits before final sign-off. A graphic that is only slightly off can still be troublesome in assembly, particularly on tension fabric systems.
When a file is being reused for the next season, check dates, branch names, promo prices and QR destinations before sending it through our contact form. This sounds obvious, but old campaign details are one of the most common reasons a reprint gets paused. If you no longer have the original artwork, send the highest quality print-ready file you do have and note what item it is for.
For work heading from Durban to Gauteng, the Western Cape, the Eastern Cape or elsewhere in the country, keep final files together in one labelled upload set. It makes checking simpler and helps the job move neatly from print to packing.
What our Event Display customers say
Verified Google reviews
Questions we get asked
Can I send artwork in PowerPoint or Word?
Editable office files are not ideal for large-format print because page sizes, fonts and image compression often change on export. A press-ready PDF set to the correct dimensions is the better option.
Do you have templates for flags and backdrops?
Yes. Flags, gazebos and fabric backdrops should be built on the correct product template so sleeve areas, wrap edges and seam allowances are in the right place.
What if I only need a reprint of one panel?
That can be done if the replacement graphic matches the original display size and finishing method. Send the item details through our contact form so the correct print area can be checked.
Tell us about the job
Send sizes, materials and where you are through our contact form, and we will come back with the practical options.
Open the contact form